Connecting Your Devices: A Guide to Mapping Printers
Related Articles: Connecting Your Devices: A Guide to Mapping Printers
Introduction
With great pleasure, we will explore the intriguing topic related to Connecting Your Devices: A Guide to Mapping Printers. Let’s weave interesting information and offer fresh perspectives to the readers.
Table of Content
Connecting Your Devices: A Guide to Mapping Printers
In the modern digital landscape, seamless printing is an essential aspect of productivity. Mapping a printer allows you to easily share its functionality across a network, enabling multiple users to access and utilize the device efficiently. This process, often referred to as "printer sharing," streamlines workflow, eliminates the need for individual printer installations, and promotes efficient resource management.
This comprehensive guide will delve into the intricacies of printer mapping, providing a step-by-step approach for various operating systems and network environments. We will explore the importance of this process, discuss common challenges, and offer practical tips for successful implementation.
Understanding the Fundamentals
Printer mapping involves establishing a connection between a printer and a computer or network. This connection allows the designated computer, known as the "print server," to manage print jobs and distribute them to the printer. The process typically involves:
-
Identifying the Network: The first step involves determining the type of network used – wired or wireless. This information is crucial for configuring the printer and its connection to the network.
-
Printer Setup: The printer needs to be physically connected to the network. This involves connecting the printer to the router using an Ethernet cable (wired connection) or configuring the printer’s wireless settings (wireless connection).
-
Driver Installation: Installing the correct printer driver is essential for the computer to communicate with the printer. Drivers are specific to the printer model and operating system.
-
Network Configuration: This step involves configuring the printer’s network settings, including its IP address and network name. This information allows the printer to be identified on the network.
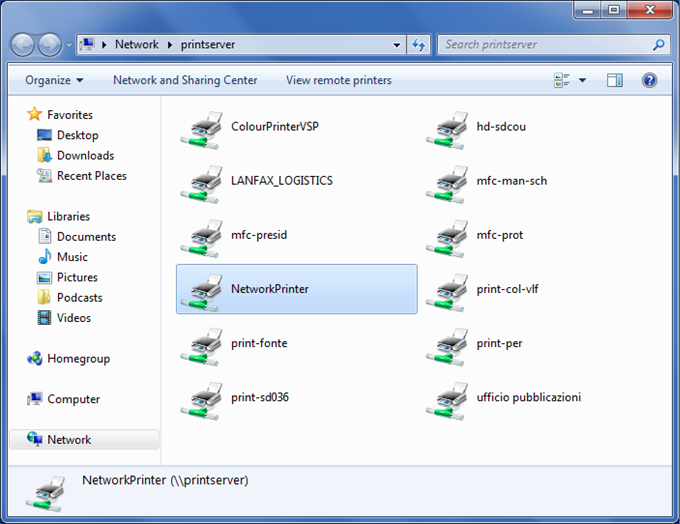
-
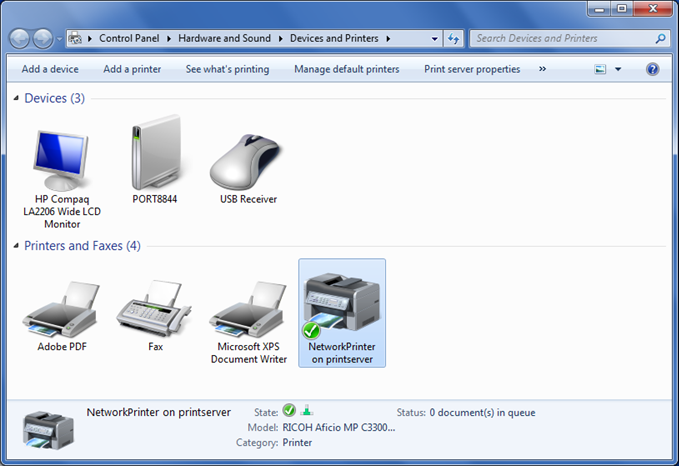
Mapping the Printer: This final step involves adding the printer to the network and associating it with specific computers or users. This allows authorized users to access and utilize the printer remotely.
Mapping a Printer: A Step-by-Step Guide
Windows Operating System
-
Connect the Printer: Connect the printer to the network either via a wired or wireless connection.
-
Install the Driver: Insert the printer’s installation disc or download the driver from the manufacturer’s website. Follow the on-screen instructions to install the driver.
-
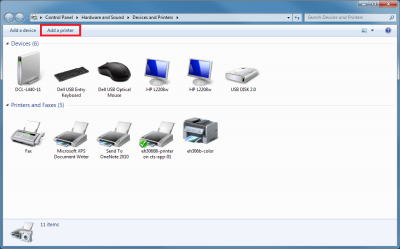
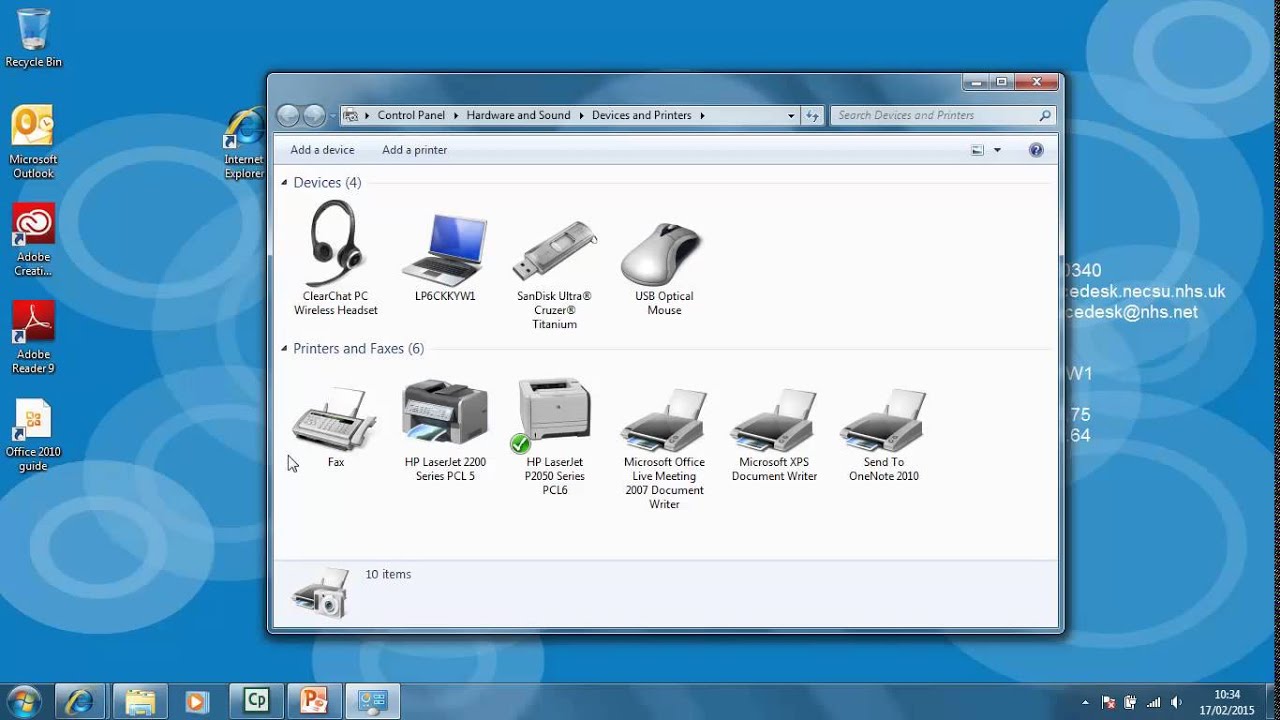
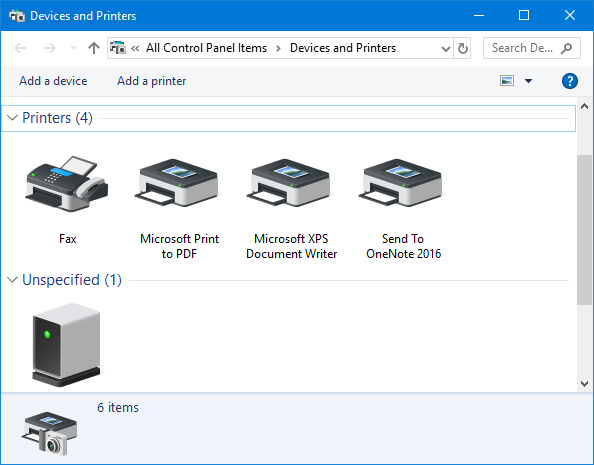
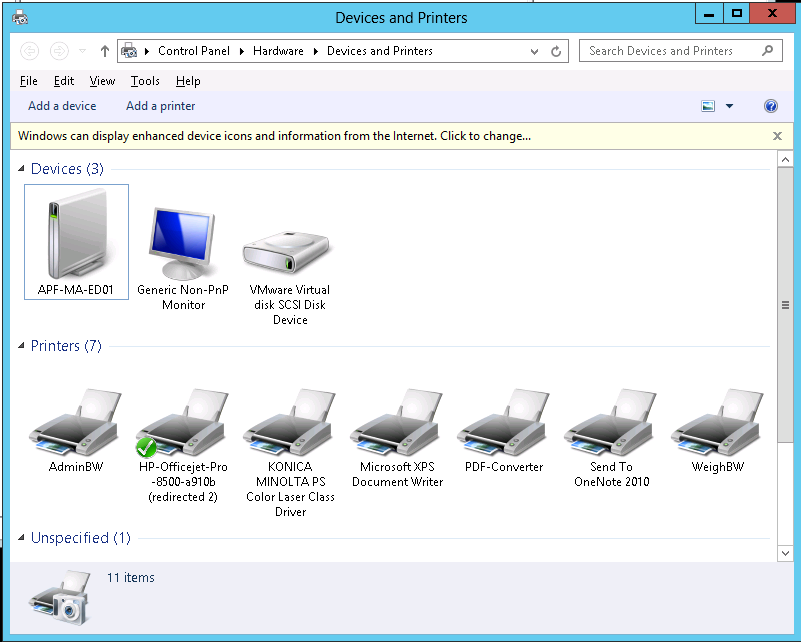
Open the Control Panel: Navigate to the Control Panel and select "Devices and Printers."
-
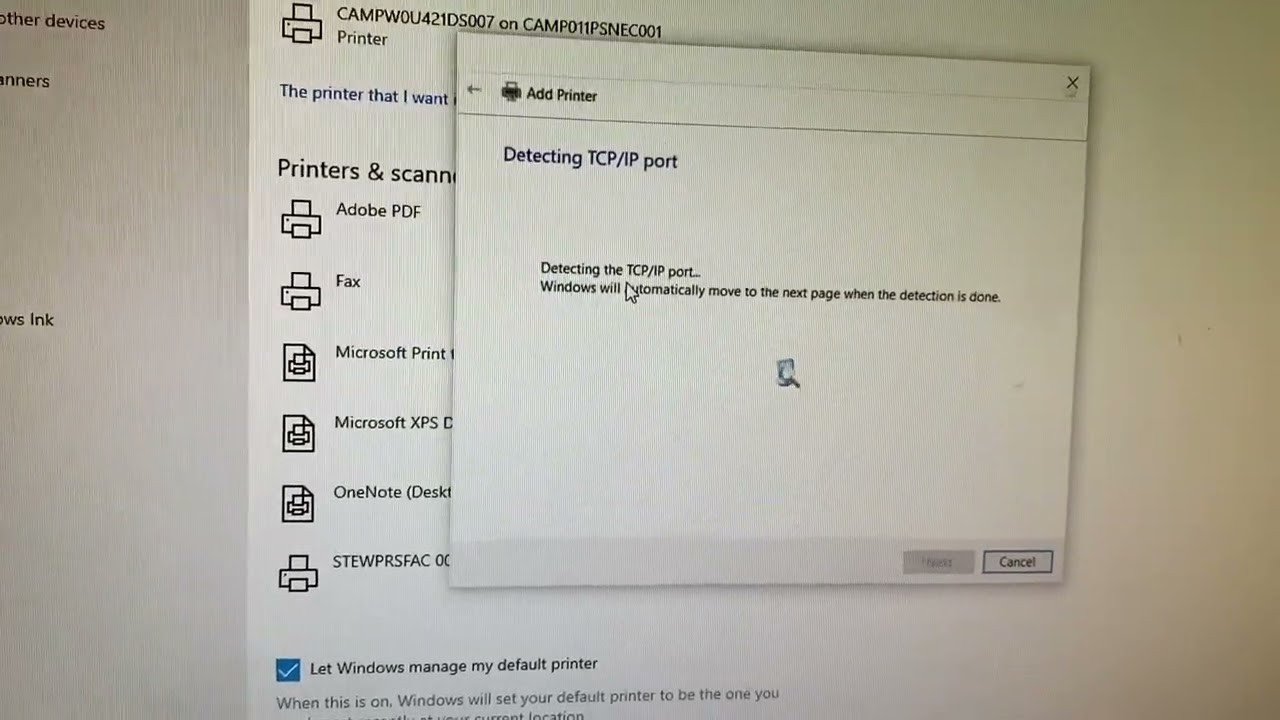
Add a Printer: Click on "Add a printer" and select "Add a local printer or network printer with manual settings."
-
Select a Port: Choose the appropriate port for your connection (e.g., "USB001" for a USB connection, "LPT1" for a parallel port, or "TCP/IP" for a network connection).
-
Select a Driver: Choose the correct printer driver from the list.
-
Name the Printer: Assign a name to the printer for easy identification.
-
Sharing the Printer: Right-click on the newly added printer and select "Printer Properties." Navigate to the "Sharing" tab and enable printer sharing.
-
Configure Sharing Settings: Set the appropriate sharing permissions for the printer.
Mac OS
-
Connect the Printer: Connect the printer to the network either via a wired or wireless connection.
-
Install the Driver: Download the driver from the manufacturer’s website and follow the on-screen instructions to install it.
-
Open System Preferences: Navigate to "System Preferences" and select "Printers & Scanners."
-
Add a Printer: Click on the "+" button to add a new printer.
-
Select the Printer: Choose the desired printer from the list of available printers.
-
Select the Driver: Choose the appropriate printer driver from the list.
-
Name the Printer: Assign a name to the printer for easy identification.
-
Configure Sharing Settings: Enable printer sharing and set the appropriate sharing permissions.
Linux Operating System
-
Connect the Printer: Connect the printer to the network either via a wired or wireless connection.
-
Install the Driver: Download and install the appropriate driver from the manufacturer’s website or use the "CUPS" (Common Unix Printing System) package manager.
-
Open the Printer Settings: Access the printer settings through the "System Settings" or "Printers" application.
-
Add a Printer: Click on the "Add" button to add a new printer.
-
Select the Printer: Choose the desired printer from the list of available printers.
-
Select the Driver: Choose the appropriate printer driver from the list.
-
Name the Printer: Assign a name to the printer for easy identification.
-
Configure Sharing Settings: Enable printer sharing and set the appropriate sharing permissions.
Troubleshooting Common Issues
Mapping a printer can sometimes present challenges. Here are some common issues and their solutions:
- Driver Compatibility: Ensure that the installed driver is compatible with the operating system and printer model. Downloading the latest driver from the manufacturer’s website often resolves compatibility issues.
- Network Connectivity: Verify that the printer is properly connected to the network. Check the network cable connection (for wired connections) or the wireless network signal strength (for wireless connections).
- IP Address Conflicts: If multiple devices on the network have the same IP address, it can cause conflicts. Assign a static IP address to the printer to avoid conflicts.
- Firewall Settings: Ensure that the firewall is not blocking communication between the printer and the computer. Temporarily disable the firewall to test the connection.
- Printer Sharing Permissions: Verify that the appropriate sharing permissions are set for the printer. Make sure that the user account attempting to access the printer has the necessary permissions.
Tips for Successful Printer Mapping
- Use a Wired Connection: Wired connections generally provide a more stable and reliable connection compared to wireless connections.
- Check for Updates: Regularly update the printer drivers to ensure compatibility and optimize performance.
- Restart Devices: Restarting both the computer and the printer can often resolve connection issues.
- Use a Network Scanner: Utilize a network scanner to identify the printer’s IP address and ensure it is visible on the network.
- Consult the Manufacturer’s Documentation: Refer to the printer’s user manual or the manufacturer’s website for specific instructions and troubleshooting tips.
Conclusion
Mapping a printer effectively enhances productivity and streamlines workflow within a network environment. By following the outlined steps and addressing potential issues, you can successfully connect your printer to your network and enable seamless printing for all authorized users.
Remember, understanding your network configuration, installing the correct drivers, and configuring sharing settings are crucial for a smooth and successful printer mapping experience. With a little patience and these guidelines, you can unlock the full potential of your printer and optimize your digital workflow.


Closure
Thus, we hope this article has provided valuable insights into Connecting Your Devices: A Guide to Mapping Printers. We hope you find this article informative and beneficial. See you in our next article!